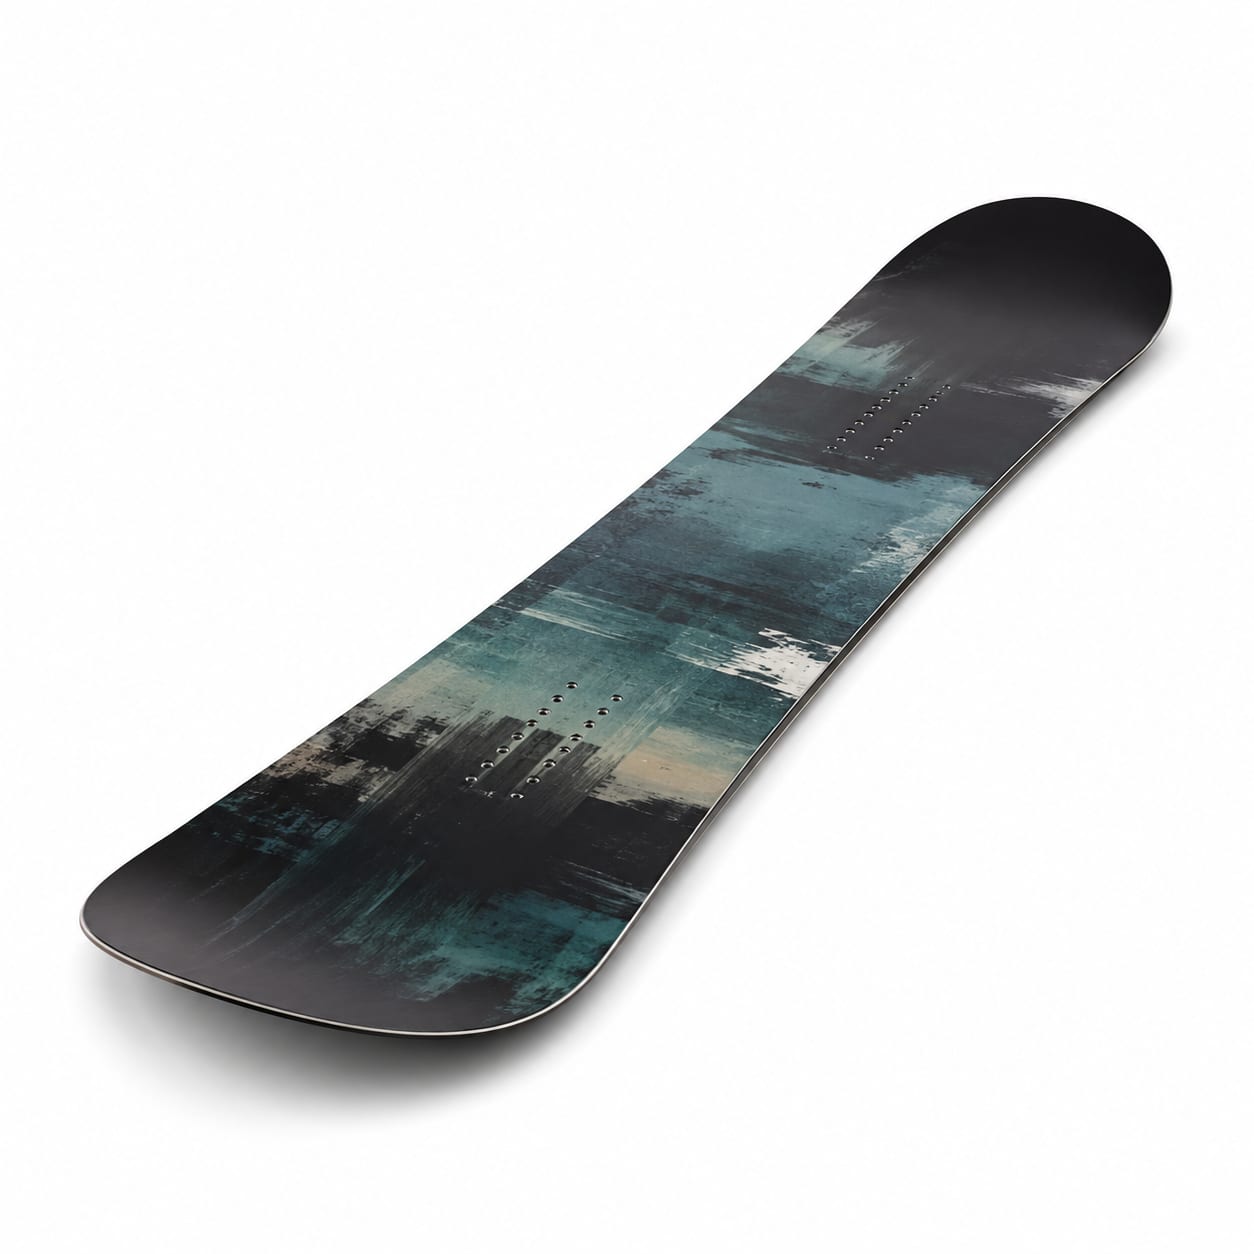
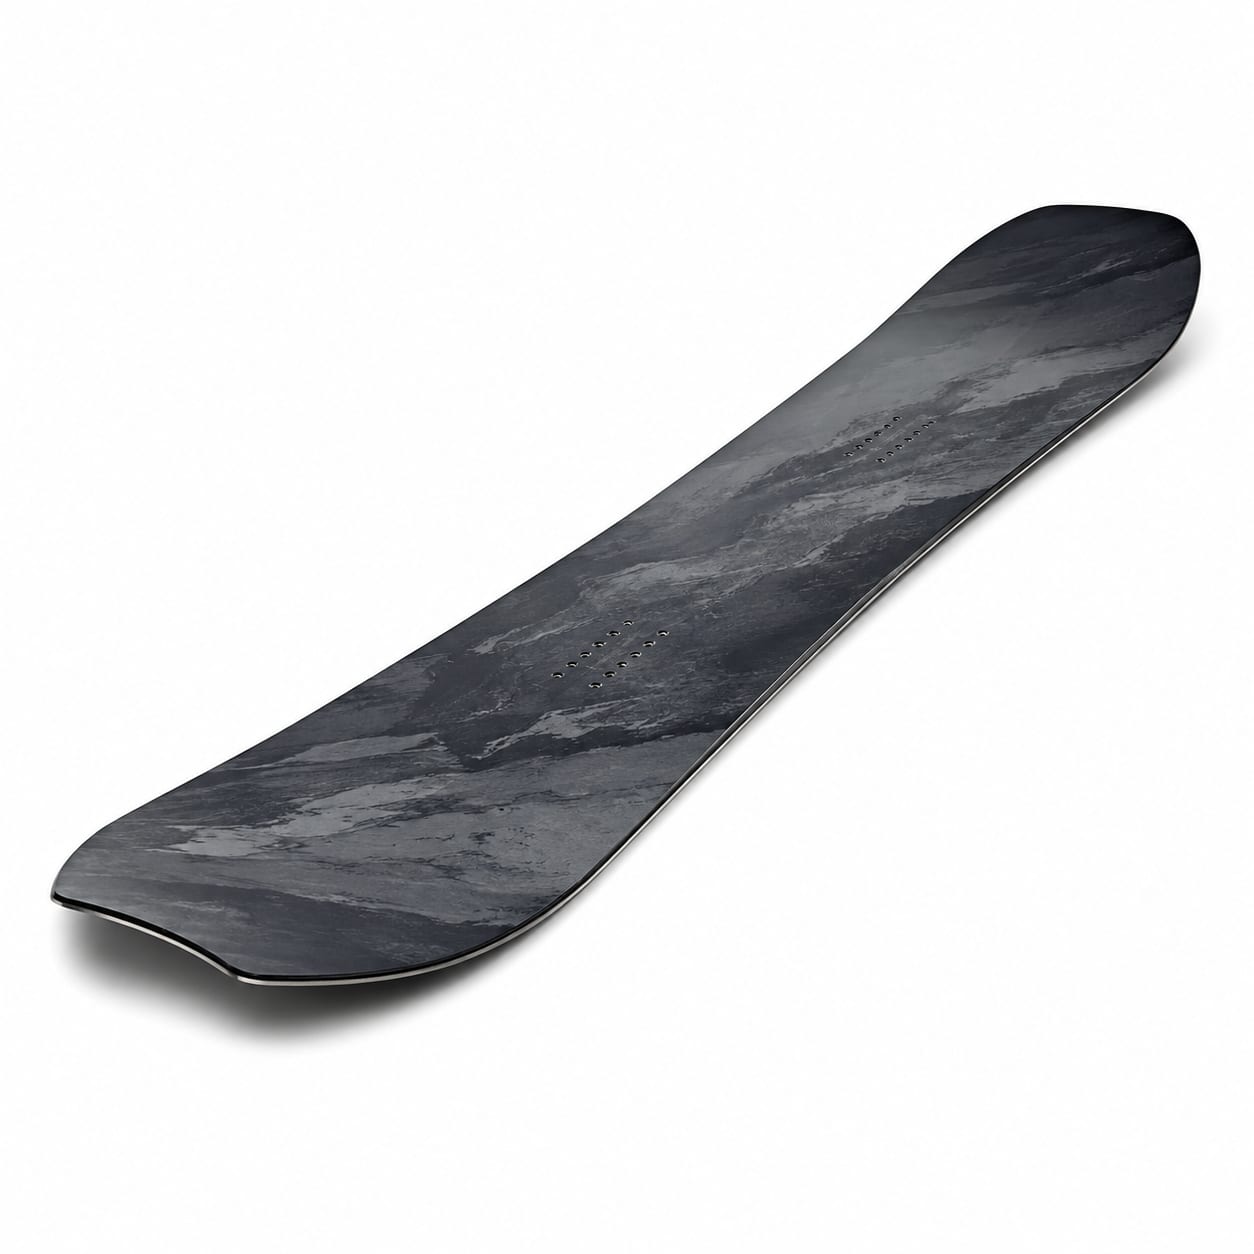
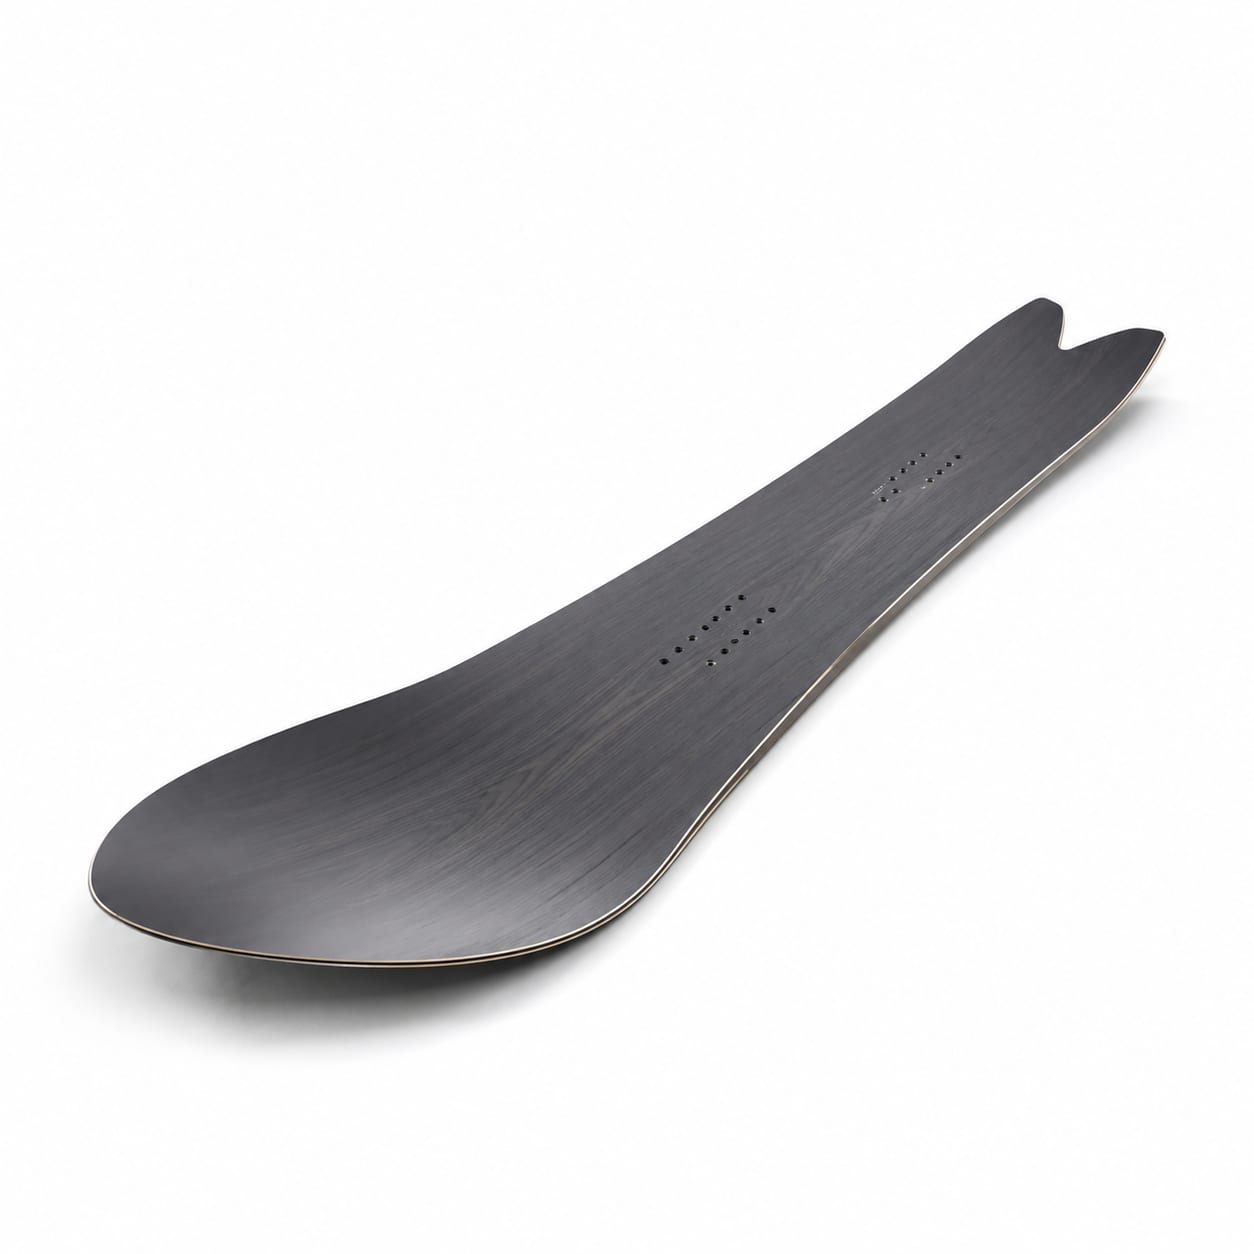
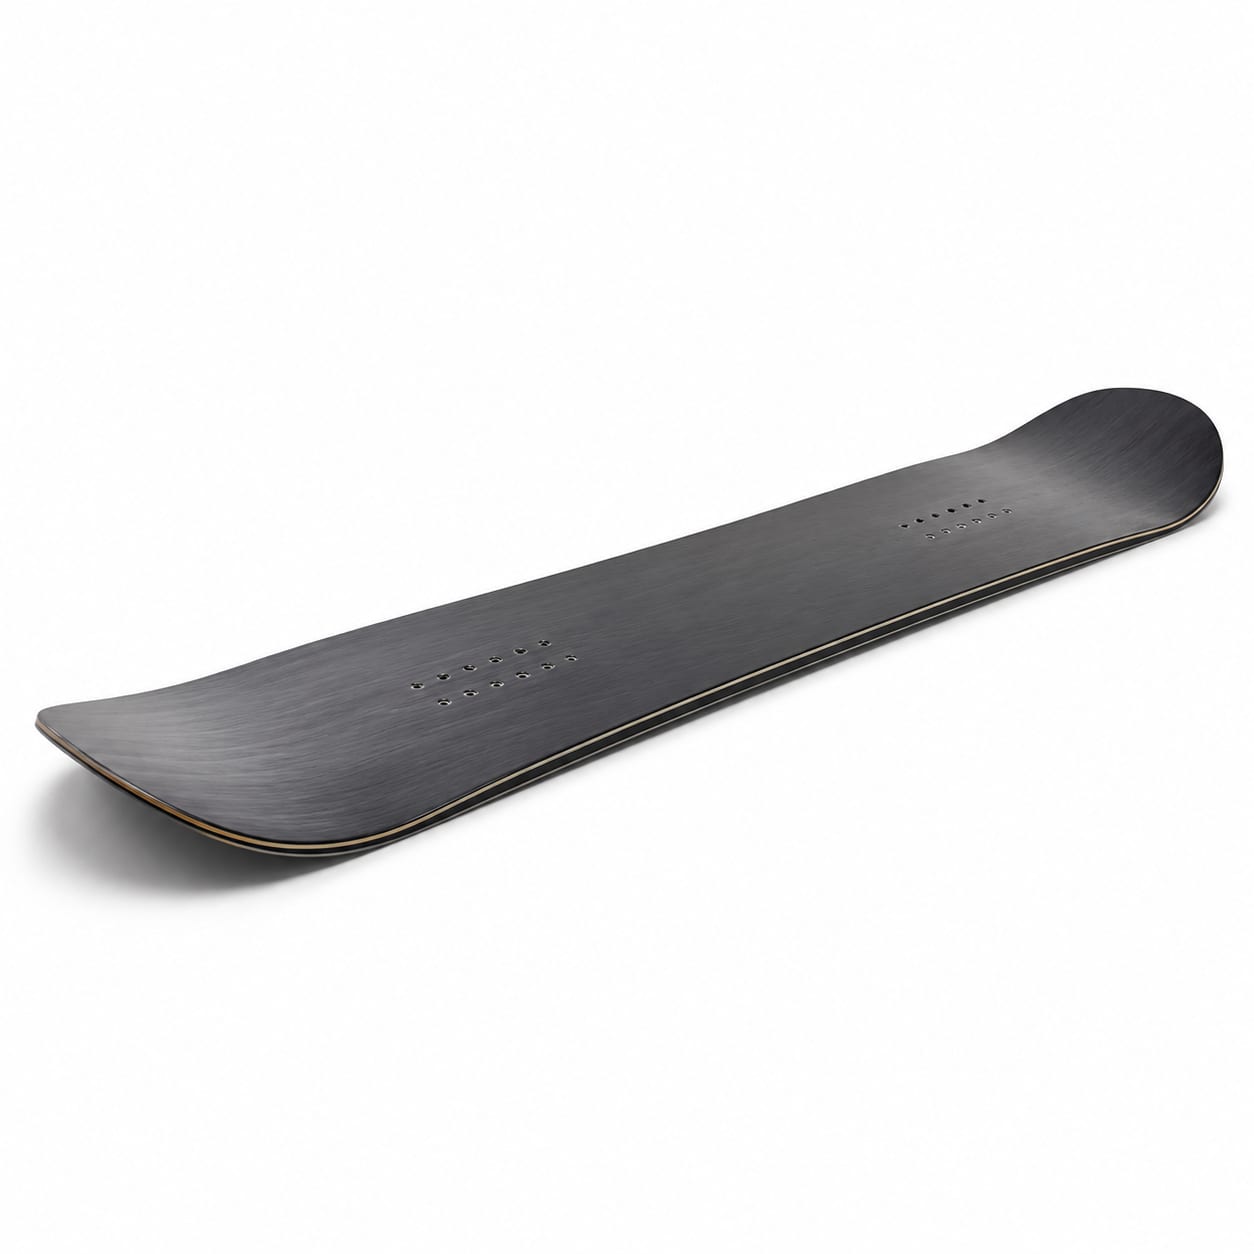
Kitvore.com

Kitvore.com

Specs that matter. Gear that fits.

Snowboard · Subcategory

Splitboard

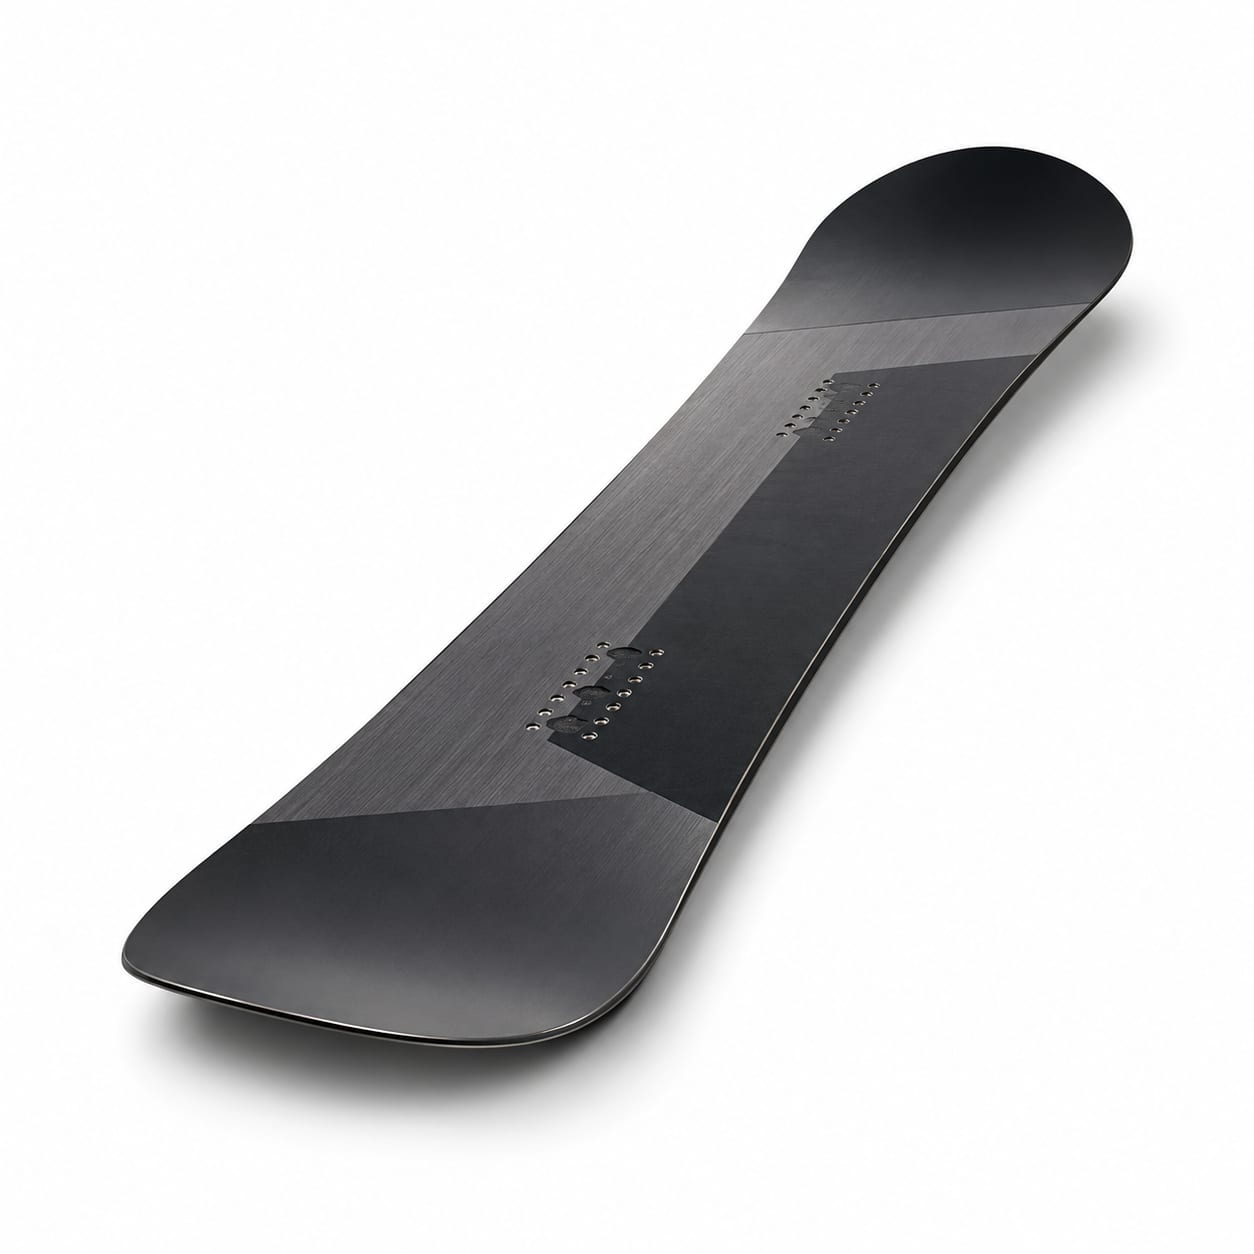
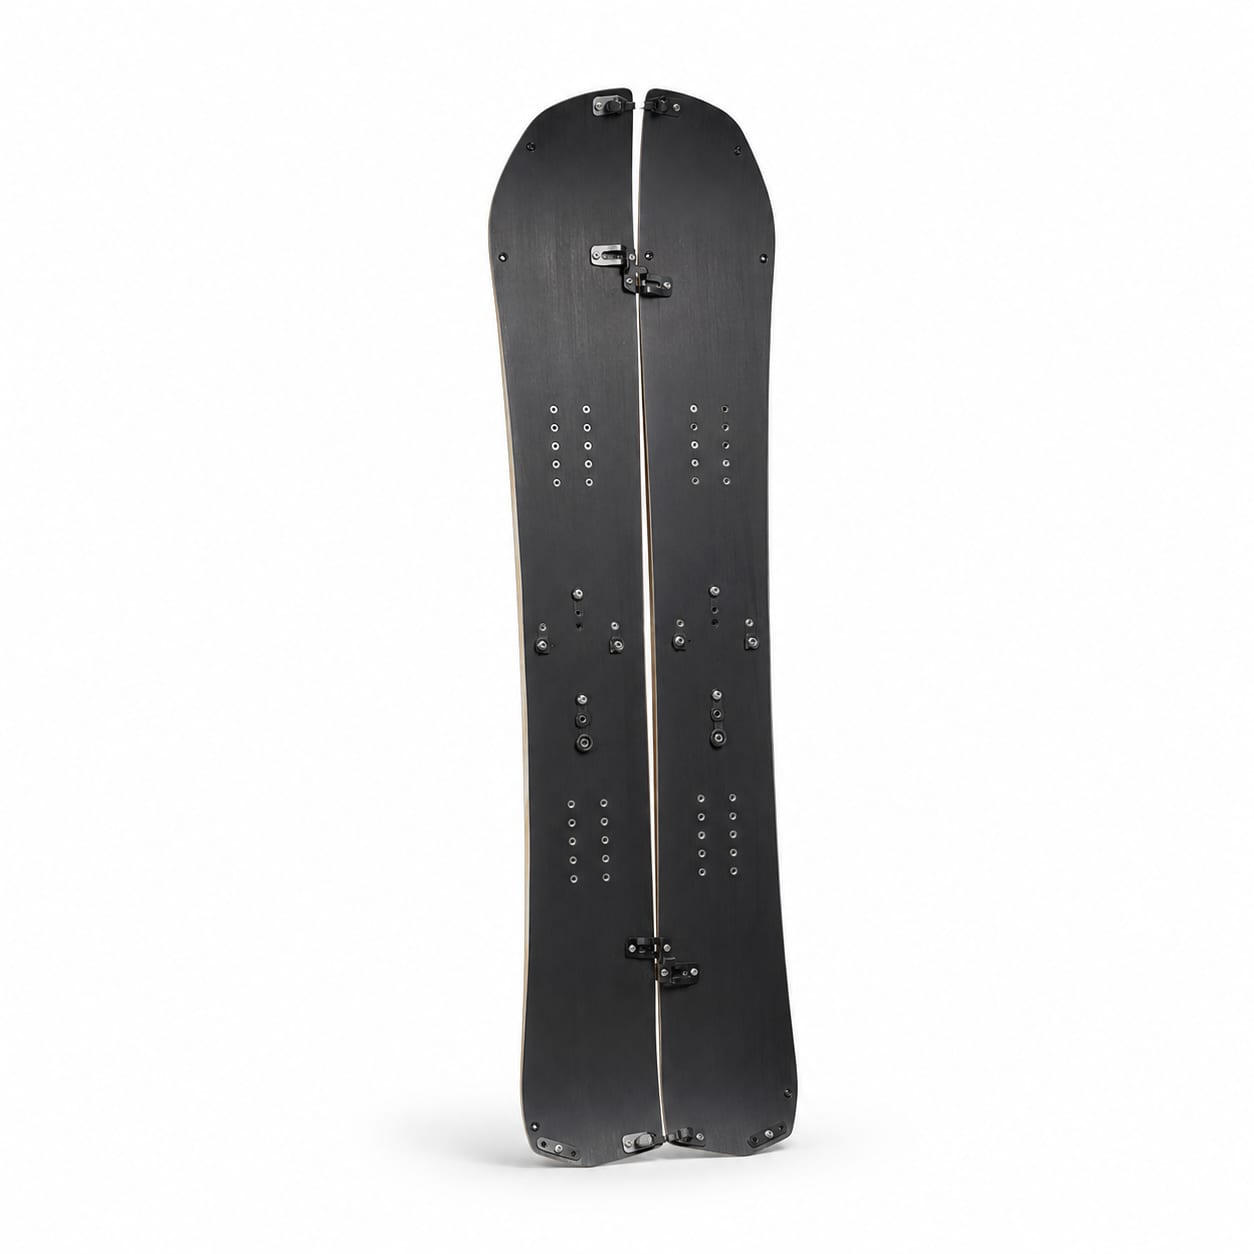
A snowboard that splits into two skis for uphill touring and reconnects for backcountry descents.

Splitboards are the gateway to human-powered backcountry snowboarding. By splitting lengthwise into two touring skis, they allow riders to skin uphill under their own power, then clip together for a true snowboard descent. Modern splitboards have narrowed the performance gap with solid boards significantly, making them viable not just for access but for charging big lines. If you want to ride untouched powder without a lift ticket, this is your tool.

$600 – $1300premium tierintermediateadvancedexpert

Best known for

Enabling uphill travel for backcountry accessUntouched powder descents far from resortsSplit-apart touring mode with climbing skinsSelf-sufficient backcountry exploration
Splitboard

Guide

Detailed overview

A splitboard is a purpose-built snowboard designed to separate lengthwise into two halves, each functioning as a narrow touring ski for uphill travel with climbing skins. Once at the top, the two halves rejoin via a binding interface and clips to form a complete snowboard for the descent. This dual-function design opens up vast backcountry terrain to snowboarders who would otherwise need a snowmobile, helicopter, or approach on snowshoes. Splitboards typically feature directional or tapered directional shapes optimized for powder and variable backcountry snow conditions. They are built with lightweight core materials like paulownia to reduce fatigue during long tours, and they use sintered bases for speed across flat traverses and variable snow. The split interface adds weight and slightly reduces torsional stiffness compared to a solid board, but modern designs have minimized these compromises. Splitboarding requires dedicated split-specific bindings and climbing skins, and riders must invest time learning touring techniques, avalanche safety, and transition efficiency.

Splitboarding has revolutionized backcountry access for snowboarders. Before the modern splitboard, riders seeking untracked lines faced a difficult choice: snowshoe uphill (exhausting and slow), use a approach skis (awkward descent), or rely on motorized access (expensive and limited). The splitboard elegantly solves this by transforming from two touring skis on the uptrack to a full snowboard on the descent. The touring mode uses climbing skins attached to the base of each half for grip on snow, while the split halves provide a stable platform similar to cross-country skiing. Modern split clips, including tip and tail clips and touring brackets, have made transitions faster and more secure than ever.

The performance gap between splitboards and solid boards has narrowed dramatically. Early splitboards were heavy, sluggish, and felt noticeably different from a traditional board on the descent. Today's models use advanced construction techniques—paulownia wood cores, carbon fiber stringers, and refined split interfaces—to deliver descent performance that approaches solid board feel. While a splitboard will never be quite as torsionally stiff or light as a comparable solid board due to the split hardware and seam, most riders find the difference negligible in soft backcountry snow where splitboards excel. The key trade-off remains weight: a splitboard setup with bindings and skins is significantly heavier than a solid board, which matters on multi-hour ascents.

Choosing the right splitboard requires honest assessment of your backcountry goals. If you primarily tour for short laps near the resort, a lighter, more playful splitboard with a hybrid camber profile offers versatility and fun. If you're planning multi-day hut trips or charging steep, technical lines, a stiffer, more directional splitboard with aggressive taper provides the stability and float you need. Waist width is particularly important for splitboards—wider boards (255mm+) offer better float in deep powder but can feel sluggish on tight tree runs or firm conditions. Many experienced splitboarders size up slightly from their resort board for additional float, since backcountry snow is often deeper and less tracked.

Beyond the board itself, splitboarding requires a complete touring kit: split-specific bindings, climbing skins, collapsible poles, and critically, avalanche safety gear (beacon, probe, shovel) and the knowledge to use it. The total investment is substantial, and the learning curve includes not just riding skills but touring technique, route-finding, and avalanche assessment. However, for riders drawn to the solitude and untracked snow of the backcountry, a splitboard is the most rewarding investment in snowboarding.

Quick facts

Primary purpose
Self-powered backcountry access and descent
Popular brands
JonesBurtonWestonSpark R&DKarakoramRome
Typical terrain
BackcountryRemote mountainsUntracked terrainTouring routes

What makes it different

Dual-mode design enables uphill travel under human power, a capability no solid snowboard offers

Recommended ranges

How this type usually specs out

Each spec is explained in plain language, then we show what buyers usually look for on this type.

Length

Board Length

What it means

The total length of the snowboard measured in centimeters from tip to tail. The primary sizing dimension affecting stability, float, and maneuverability.

Typical for this type

155–170 cm

Most common pick: 158 cm

In practice

Splitboards are often sized 2–4 cm longer than a rider's resort board to provide extra float in deep, untracked backcountry snow. The additional length also helps with stability at speed in variable conditions and provides more surface area for uphill skin track grip.

Compared to other types

Splitboards typically run 2–4 cm longer than equivalent all-mountain or freeride solid boards for the same rider. This is a deliberate choice for backcountry float rather than a sizing error.

Why it matters: In the backcountry, you're riding untracked snow more often than not. Extra length translates directly to float and stability. However, too long a board becomes cumbersome during kick turns on steep skin tracks and adds weight for uphill travel.

Waist Width

Waist Width

What it means

The narrowest point of the snowboard's running surface, measured in millimeters. Determines boot-to-edge leverage and toe drag risk.

Typical for this type

250–270 mm

Most common pick: 258 mm

In practice

Splitboards tend to have wider waists than resort boards to maximize float in deep powder. Most splitboards fall in the mid-wide to wide category. The wider platform also provides stability in variable backcountry snow conditions.

Compared to other types

Splitboards are typically 5–15 mm wider at the waist than all-mountain solid boards, similar to powder boards. This width is essential for backcountry float but makes the board less nimble on hardpack compared to freeride or all-mountain boards.

Why it matters: Backcountry snow is often deeper and softer than resort snow. A wider waist keeps you on top of the snow rather than sinking. However, wider boards are slower edge-to-edge on firm snow and can feel cumbersome in tight trees.

Profile

Camber Profile

What it means

The longitudinal curvature of the snowboard when laid flat. The single most influential design element on how a board feels and performs.

Typical for this type

Hybrid Camber Or Directional Camber

In practice

Hybrid camber (camber between the feet with rockered tip and tail) is the most popular splitboard profile, offering edge hold for steep skin tracks and firm traverses with float in powder from the rockered nose. Directional camber with a rockered nose is also common for dedicated freeride splitboards.

Compared to other types

Splitboards favor hybrid camber or directional camber profiles more heavily than all-mountain or freestyle boards. The touring requirement demands reliable edge engagement that pure rocker cannot provide, while the powder focus benefits from rockered tips.

Why it matters: The camber zone underfoot provides crucial edge hold for side-hilling and traversing firm snow on the ascent, while the rockered nose keeps the board planing in deep powder on the descent. Full camber offers maximum edge grip but less float; full rocker sacrifices too much touring edge hold.

Shape

Shape

What it means

The outline symmetry of the snowboard. Determines stance positioning, switch capability, and intended riding direction.

Typical for this type

Directional Or Tapered Directional

In practice

The vast majority of splitboards use directional or tapered directional shapes. These shapes provide superior float in powder and stability at speed for backcountry descents. The setback stance and wider nose help the board plane in deep snow without requiring rider effort.

Compared to other types

Unlike all-mountain or freestyle boards where directional twin shapes are common, splitboards almost exclusively use directional or tapered directional shapes. Switch riding is rare in the backcountry, so twin symmetry offers no benefit.

Why it matters: Backcountry riding is almost exclusively forward-facing. Directional shapes optimize float, stability, and plow-through performance in variable snow. Taper helps the tail sink and the nose rise naturally in powder, reducing fatigue on long descents.

Flex

Flex Rating

What it means

The stiffness of the snowboard, typically rated on a 1–10 scale. Affects responsiveness, stability, and ease of turning.

Typical for this type

5–8

Most common pick: 6

In practice

Splitboards typically fall in the medium-stiff to stiff range. A stiffer flex provides stability at speed in variable backcountry snow, better edge hold on firm traverses, and more powerful turns in heavy or crusty snow. Softer flex options exist for riders who prioritize playfulness.

Compared to other types

Splitboards tend to be slightly stiffer than comparable all-mountain boards to handle variable backcountry conditions. They are similar in flex to freeride boards but may feel slightly stiffer underfoot due to the split interface hardware.

Why it matters: Backcountry snow conditions are wildly variable—powder, crust, wind slab, and everything in between. A stiffer board powers through inconsistent snow rather than getting deflected. However, too stiff a board is fatiguing on long tours and less forgiving of mistakes in technical terrain.

Sidecut Radius

Sidecut Radius

What it means

The radius of the imaginary circle formed by the board's edge curve. Determines the natural turning radius of the board.

Typical for this type

7.0–9.5 m

Most common pick: 8.0 m

In practice

Splitboards generally use medium to larger sidecut radii for stable, sweeping turns in open backcountry terrain. Tighter sidecuts are found on tree-focused splitboards, while larger radii suit alpine big-mountain riding.

Compared to other types

Splitboards tend toward slightly larger sidecut radii than freestyle or all-mountain boards, similar to freeride boards. This prioritizes stability over quick turn initiation, which is appropriate for the open terrain and higher speeds common in backcountry riding.

Why it matters: Backcountry terrain often involves wide-open bowls and alpine faces where longer, more stable turns are preferred. A medium-to-large sidecut provides stability at speed without feeling locked into a specific turn shape. Multi-radius sidecuts offer versatility for varied terrain.

Effective Edge

Effective Edge Length

What it means

The length of the edge that actually contacts the snow during a turn, measured in centimeters. Excludes the tip and tail kick areas.

Typical for this type

118–132 cm

Most common pick: 122 cm

In practice

Splitboards need substantial effective edge for grip on firm traverses and steep skin tracks. The effective edge is slightly reduced compared to a solid board of the same length because the split interface can create a small dead zone at the seam, though modern designs minimize this.

Compared to other types

A splitboard's effective edge is typically 1–3 cm shorter than a solid board of the same total length due to the split interface at the center. This is a minor difference that is rarely noticeable in soft backcountry snow but can be felt on firm conditions.

Why it matters: On the ascent, edge hold is critical for side-hilling across firm slopes and making kick turns on steep skin tracks. On the descent, long effective edge provides confidence on wind-affected or crusty snow where grip is uncertain. The split seam can slightly reduce the functional edge compared to a solid board.

Stance Setback

Stance Setback

What it means

How far back from the board's center the reference stance position is placed, measured in millimeters. Affects float and directional performance.

Typical for this type

20–40 mm

Most common pick: 25 mm

In practice

Splitboards feature moderate to significant stance setback to enhance powder float on descents. The setback stance shifts the rider's weight toward the tail, allowing the wider nose to plane naturally in deep snow without active weighting.

Compared to other types

Splitboards typically have more stance setback than all-mountain boards (10–20mm) and are comparable to freeride boards (25–40mm). This is a direct reflection of the powder-focused design intent of most splitboards.

Why it matters: In the backcountry, you encounter deep powder far more frequently than at resorts. Setback stance is the most effective design feature for effortless powder float. It also improves stability at speed by keeping the longer nose ahead of the rider for shock absorption.

Rider Weight Range

Recommended Rider Weight Range

What it means

The manufacturer's recommended rider weight range for optimal board performance. The most important sizing factor beyond board length.

Typical for this type

Varies By Size; Always Check Manufacturer Specs

Most common pick: 65–90 kg

In practice

Weight is the most critical sizing factor for splitboards because it determines both float in powder and flex response. Riders at the upper end of the weight range get more responsive performance; riders at the lower end get easier turn initiation. Splitboard weight ranges are similar to solid boards of the same length.

Compared to other types

Weight ranges are comparable to freeride and all-mountain boards of the same length. However, because splitboards are often sized up slightly, the effective weight range for a given rider may shift to a longer board than they'd ride at a resort.

Why it matters: In deep backcountry powder, being on a board that's too small for your weight means you'll sink instead of float. On the ascent, a board that's too soft for your weight will feel unstable on firm snow. Always prioritize the manufacturer's weight range over height-based sizing.

Terrain / Riding Style

Terrain Type

What it means

The primary terrain and riding style the board is designed for. The most fundamental categorization used by brands and retailers.

Typical for this type

Splitboard With Freeride And/Or Powder Emphasis

Most common pick: Splitboard, Freeride, Powder

In practice

All splitboards are by definition the 'splitboard' terrain type, but they also align with freeride and powder categories. The splitboard designation refers to the touring capability, while the freeride/powder classification describes the descent performance characteristics.

Compared to other types

Splitboards are unique in combining the touring capability with descent performance. Compared to freeride solid boards, splitboards sacrifice some torsional stiffness and add weight. Compared to powder boards, they offer similar float with added touring utility.

Why it matters: Understanding the terrain type helps set expectations. A splitboard is designed first and foremost for backcountry access and powder descents. It will not perform like a park board or a carving board, and using it as such will be frustrating.

Ability Level

Ability Level

What it means

The rider skill level the board is designed and optimized for.

Typical for this type

Intermediate to Expert

Most common pick: Advanced

In practice

Splitboarding requires solid riding skills because backcountry conditions are more variable and demanding than resort groomers. Most splitboards are designed for intermediate-to-advanced riders, with a few models targeting expert big-mountain charging. Beginner-friendly splitboards exist but are less common.

Compared to other types

Splitboards skew toward higher ability levels than all-mountain or freestyle boards. This is not because the boards themselves are harder to ride, but because the backcountry environment demands stronger skills. The closest parallel is freeride boards, which also target advanced riders.

Why it matters: The backcountry demands competence in all snow conditions—powder, crust, ice, slush, and wind slab. A rider who struggles on blue runs at the resort will be overwhelmed in the backcountry. Additionally, the splitboard itself is slightly heavier and less responsive than a solid board, requiring more skill to manage.

Core Material

Core Material

What it means

The primary wood or composite material forming the board's internal structure. Affects weight, flex, pop, and dampening.

Typical for this type

Paulownia Or Paulownia-Blended Cores

In practice

Paulownia is the most popular core material for splitboards due to its exceptional strength-to-weight ratio. Lighter cores reduce fatigue on long ascents without sacrificing descent performance. Many splitboards use paulownia with denser wood stringers (maple, ash) for targeted stiffness and pop.

Compared to other types

Splitboards use paulownia cores far more frequently than all-mountain, freestyle, or freeride boards, where poplar is the standard. This weight-saving focus is unique to splitboards and reflects the physical demands of uphill travel.

Why it matters: Weight is a bigger concern for splitboards than any other subcategory because you're carrying the board uphill for hours. A paulownia core can save 200–400 grams compared to a poplar core, which translates to noticeably less fatigue over a full day of touring. However, pure paulownia can feel slightly less damp than poplar.

Base Material

Base Material

What it means

The material on the board's running surface that contacts the snow. Affects speed, durability, and maintenance requirements.

Typical for this type

Sintered Or Sintered High Density

In practice

Sintered bases are standard on splitboards because speed matters in the backcountry—whether crossing flat traverses, escaping wind-affected ridges, or maintaining momentum in heavy snow. High-density sintered bases are found on premium models for maximum speed and durability against rocks and debris.

Compared to other types

Splitboards almost exclusively use sintered bases, whereas all-mountain and freestyle boards may use extruded bases. The backcountry demands speed and durability that extruded bases cannot provide. High-density sintered is more common on splitboards than on resort boards.

Why it matters: In the backcountry, there are no cat tracks to push along or chairlifts to bail you out. A slow base means exhausting poling across flats or getting stuck in bottomless powder. Sintered bases hold wax longer and are more durable against the rocks and logs commonly encountered in early-season or low-snow conditions.

Nose/Tail Shape

Nose and Tail Shape

What it means

The geometric shape of the board's tip and tail, affecting float, plow-through, and swing weight.

Typical for this type

Pointed Or Swallow Tail

In practice

Pointed noses are standard on splitboards for slicing through deep snow and reducing plow resistance on the ascent. Swallow tails appear on powder-specialist splitboards for enhanced float and a surfy feel. Blunt shapes are rare because they compromise float and increase skin track resistance.

Compared to other types

Splitboards almost universally use pointed nose shapes, similar to freeride and powder boards. Blunt shapes, common in freestyle, are essentially nonexistent in splitboards because they compromise both touring efficiency and powder float.

Why it matters: A pointed nose cuts through snow more efficiently on both the ascent and descent, reducing fatigue and improving float. In touring mode, a tapered nose on each half helps the skins track straight without wandering. Swallow tails provide a unique ride feel but are purely for descent performance.

Taper

Taper

What it means

The difference between the nose width and tail width of the board, measured in millimeters. Greater taper enhances powder float.

Typical for this type

5–20 mm

Most common pick: 10 mm

In practice

Moderate taper is common on splitboards to enhance powder float by allowing the narrower tail to sink while the wider nose rises. Taper works in conjunction with stance setback and rockered noses for effortless planing in deep snow. Extreme taper (15mm+) appears on deep-powder specialist models.

Compared to other types

Splitboards typically have more taper than all-mountain boards (0–5mm) and are comparable to freeride and powder boards. The taper reflects the powder-first design priority, though most splitboards keep taper moderate enough for versatile backcountry performance.

Why it matters: Taper is one of the most effective design features for powder float, and backcountry riders encounter deep powder more consistently than resort riders. Moderate taper provides float without severely compromising hardpack performance, which matters for firm traverses and wind-affected ridges.

Insert Pattern

Insert Pattern

What it means

The bolt hole pattern on the board for mounting bindings. Determines binding compatibility and stance adjustability.

Typical for this type

2x4 or 4x4

In practice

The 2x4 insert pattern is most common on splitboards, offering fine stance width adjustment that's important for dialing in touring comfort and descent performance. Some splitboards use 4x4 patterns. Burton Channel systems appear on Burton splitboards but require compatible split bindings.

Compared to other types

Splitboards use the same insert patterns as other snowboard subcategories, but the stakes of stance positioning are higher because the stance affects touring comfort on multi-hour ascents, not just descent performance.

Why it matters: Stance positioning is particularly important on splitboards because it affects both touring ergonomics and descent performance. The 2x4 pattern allows 2cm adjustment increments for finding the optimal balance between uphill stride efficiency and downhill control. Always verify binding compatibility before purchasing.

Evaluation

Strengths and trade-offs

Pros

What this type does best

Self-powered backcountry access

Critical

Splitboards enable you to reach untouched terrain under your own power without needing snowmobiles, helicopters, or ski lifts. This independence is the core value proposition and opens up virtually unlimited riding possibilities.

True snowboard descent experience

Critical

Unlike approach skis or snowshoes, a splitboard reconnects into a full snowboard for the descent. You ride exactly as you would on a solid board, with the same stance, technique, and feel—no compromises on the way down.

Untracked powder and solitude

High

Splitboarding provides access to pristine powder lines and quiet mountains far from resort crowds. For many riders, the combination of physical effort and untouched snow creates the most rewarding experience in snowboarding.

Modern performance nears solid boards

High

Advances in split interface design, lightweight construction, and clip systems have dramatically narrowed the performance gap between splitboards and solid boards. Most riders find modern splitboards perform within 90–95% of a comparable solid board in soft snow.

Versatile backcountry tool

Medium

A splitboard handles the full range of backcountry conditions—deep powder, wind crust, corn snow, and everything in between. The same board that tours up a skin track can charge steep lines, cruise open bowls, and navigate tight trees.

Fitness and adventure combined

Medium

The uphill touring provides excellent cardiovascular exercise, and the descent is your reward. Many splitboarders find the full experience of earning your turns more satisfying than lift-served riding.

Cost-effective backcountry access long-term

Medium

While the initial investment is significant, a splitboard setup is far cheaper than seasonal heli-skiing or snowmobile access over time. Once equipped, each tour costs nothing but your effort.

Cons

Trade-offs to be aware of

Heavier than solid boards

Moderate

The split interface, clips, and touring hardware add 500–800 grams compared to a similar solid board. This extra weight is felt on the ascent and slightly affects maneuverability on the descent. A full split setup with bindings and skins is substantially heavier than a resort setup.

Reduced torsional stiffness

Moderate

The split seam along the board's center creates a slight flex point that reduces torsional rigidity compared to a solid board. This is most noticeable on firm snow at speed or during aggressive carves. Modern designs have minimized but not eliminated this characteristic.

Expensive complete setup required

Significant

A splitboard requires split-specific bindings ($250–500), climbing skins ($150–250), collapsible poles ($50–150), and avalanche safety gear ($300–500+) beyond the board itself. The total investment for a complete splitboarding kit typically runs $1,500–3,000+, significantly more than a resort setup.

Slower transitions than skis

Moderate

Switching from tour mode to ride mode (or vice versa) takes 3–5 minutes for an experienced splitboarder, compared to 30–60 seconds for touring skiers with pin bindings. Multiple transitions per day add up, and cold hands or icy hardware can slow things further.

Requires avalanche education and safety gear

Significant

Splitboarding takes you into avalanche terrain. You must carry a beacon, probe, and shovel, and more importantly, know how to use them and assess avalanche hazard. This requires training (avalanche courses cost $300–800) and ongoing practice. The consequences of ignorance can be fatal.

Touring technique learning curve

Minor

Efficient skinning, kick turns, route-finding, and transition management are skills that take time to develop. New splitboarders often struggle with skin track technique, especially on steep or icy terrain where the narrow touring halves provide less float than skis.

Best for

Terrain

BackcountrySidecountryOpen bowlsAlpine facesTree runs with untracked snowHut-to-hut touring routes

Snow conditions

Deep powderVariable backcountry snowCorn snowWind-affected snowUntracked snow of any depth

Skill level

IntermediateAdvancedExpert

Riding style

FreeridePowderBig mountainTouringBackcountry exploration

Rider profile

Resort riders wanting backcountry accessFitness-oriented riders who enjoy earning turnsPowder chasers willing to work for untracked linesAdventure seekers exploring remote terrainEnvironmentally conscious riders avoiding motorized access

Not ideal for

Reasons

Too heavy and expensive for resort-only riding where a solid board performs betterSplit hardware and directional shape make park riding impractical and potentially damaging to the boardBeginners lack the foundational skills needed for safe backcountry travelThe weight penalty and reduced torsional stiffness are unnecessary compromises if you never tourSwitch riding is compromised by directional shape and stance setback

Terrain

Terrain parksHalfpipesGroomed resort runs exclusivelyUrban street features

Skill level

Beginner

Riding style

Freestyle / parkCarving-focused ridingSwitch-heavy ridingJibbing

Compare

How it stacks up

This page

Splitboard

Enables self-powered uphill travel to access remote terrain. A freeride board can only go where lifts, snowmobiles, or helicopters take you. The splitboard opens the entire backcountry.

Alternative

Freeride Snowboard

Lighter weight, superior torsional stiffness, and slightly better descent performance. No split seam means a more consistent flex pattern. Less expensive since no split-specific bindings or skins are needed.

Bottom line

Choose a splitboard if you want to tour uphill under your own power. Choose a freeride board if you only ride lift-accessed terrain or use motorized backcountry access. Many riders own both—a freeride board for resort days and a splitboard for backcountry missions.

This page

Splitboard

Provides touring capability that a powder board lacks. You can access deep powder under your own power rather than waiting for resort powder days. The splitboard serves as both your access tool and your powder board.

Alternative

Powder Snowboard

Purpose-built powder boards often have more extreme shapes (huge noses, deep taper, swallow tails) that provide maximum float and a unique surfy feel. They're also lighter without split hardware. Better as a deep-day quiver board at resorts.

Bottom line

Choose a splitboard for backcountry powder access. Choose a powder board if you only ride resorts on storm days and want the most specialized deep-snow tool. Some splitboards approach powder board performance with similar shapes and taper.

This page

Splitboard

The touring capability is the obvious advantage, but splitboards also tend to be more powder-optimized than typical all-mountain boards. They handle deep snow better and are designed for the variable conditions found in the backcountry.

Alternative

All-Mountain Snowboard

All-mountain boards are significantly lighter, more versatile on groomers, better in the park, and less expensive. They offer superior edge-to-edge quickness and a more playful feel. No split hardware means a smoother, more consistent ride.

Bottom line

Choose a splitboard specifically for backcountry touring. Choose an all-mountain board as your daily resort driver. An all-mountain board is the wrong tool for backcountry access, and a splitboard is overkill (and underperforming) as a resort-only board.

This page

Splitboard

You get to descend as a snowboarder, which is what you know and love. The descent experience is identical to solid board riding. No need to learn an entirely new descent sport.

Alternative

Touring Skis

Touring skis are significantly lighter on the uphill, have faster transitions, provide better float on the skin track, and offer more efficient travel on flat terrain. Skins grip better on steep icy skin tracks due to wider ski platforms.

Bottom line

If you're a snowboarder at heart, choose a splitboard—the descent experience is worth the touring compromises. If you're open to skiing or already ski, touring skis offer superior uphill efficiency. Many backcountry riders eventually learn both.

Shopping

Buying tips

  • 1

    Size up 2–4 cm from your resort board for better float in untracked backcountry snow, but make sure you're still within the manufacturer's recommended weight range.

  • 2

    Prioritize paulownia or lightweight core construction—every gram matters on multi-hour ascents. The weight difference between a paulownia and poplar core splitboard is very noticeable by the end of a long tour.

  • 3

    Choose a sintered base, ideally high-density sintered. Speed in the backcountry is safety and efficiency—you don't want to be stuck on a flat traverse with a slow extruded base.

  • 4

    Consider waist width carefully: 250–255mm for mixed conditions and tree riding, 256–265mm for deep powder focus, and 265mm+ if you ride areas with consistently bottomless snow (like Japan or interior BC).

  • 5

    Factor in the total cost of the complete setup: split-specific bindings, climbing skins, collapsible poles, and avalanche safety gear (beacon, probe, shovel) can add $750–1,500+ to the board price.

  • 6

    If you're new to splitboarding, consider a used or previous-season splitboard to reduce the initial investment while you determine if backcountry touring is for you.

  • 7

    Verify binding compatibility before purchasing. Split-specific bindings (Spark R&D, Karakoram, Burton Split Tech) are required—standard bindings will not work with split hardware.
  • 8

    Invest in avalanche education (AIARE 1 or equivalent) before your first backcountry tour. The best splitboard in the world is useless if you can't assess terrain and avalanche hazard safely.

Care

Maintenance notes

  • Wax your splitboard frequently—sintered bases need regular waxing to maintain speed, and backcountry riders traverse more flat terrain than resort riders. Dry bases on long tours are exhausting.
  • Check and tighten split clips, touring brackets, and binding hardware before every tour. Vibration and temperature changes can loosen hardware over time, and a loose clip on the descent is dangerous.
  • Dry climbing skins thoroughly after each use before storing. Moist skins can delaminate, lose grip, or develop mold. Apply skin wax or treatment regularly to prevent icing on the skin track.
  • Inspect the split seam and clips for wear or damage after tours in rocky or abrasive conditions. The seam is the most vulnerable point on a splitboard and should be checked regularly.
  • Store your splitboard with the halves connected and clips engaged to maintain proper alignment. Storing split apart for long periods can cause the halves to warp slightly and create a gap when reconnected.
  • Check climbing skin glue periodically. Skins that don't stick properly to the board are a safety issue on steep terrain. Re-glue or replace skins when adhesion declines.
  • Remove climbing skins from the board promptly after transitions to prevent glue from bonding too strongly to the base, especially in warm conditions.

Progression

Skill development path

Splitboarding skill progression follows two parallel tracks: riding skill and touring skill. On the riding side, you should be a confident intermediate-to-advanced resort rider (comfortable on black runs in variable conditions) before venturing into the backcountry. On the touring side, start with simple, low-angle terrain close to trailheads and gradually progress to steeper, more remote objectives as your fitness, navigation, and avalanche assessment skills improve. Take an AIARE 1 course early in your splitboarding journey—this is non-negotiable for safety. Practice transitions at home before your first tour so you're not fumbling in the cold. Start with half-day tours of 1,000–1,500 vertical feet and build up to full-day tours of 3,000–5,000+ vertical feet over your first season. Many experienced splitboarders recommend spending at least one full season touring mellow terrain before attempting technical lines. The fitness component is significant—cardiovascular conditioning and leg strength will directly improve your touring enjoyment and safety.

FAQ

Common questions

Each question has a dedicated page with a full answer and links to the buying guide.

Can I use my regular snowboard bindings on a splitboard?

No. Splitboards require split-specific bindings that are compatible with the touring brackets and split hardware. Standard bindings cannot attach to splitboards in touring mode and lack the mechanism to switch between tour and ride modes. Popular split binding brands include Spark R&D, Karakoram, and Burton Split Tech. Some systems use a puck interface that allows certain standard binding chassis to mount on splitboards, but you still need the split-specific hardware.

How much slower is a splitboard on the uphill compared to touring skis?

Splitboards are noticeably slower on the uphill compared to touring skis. The narrower touring halves provide less float on the skin track (especially in deep snow), transitions take 3–5 minutes versus 30–60 seconds for skiers, and the setup is typically heavier. On moderate terrain, a splitboarder might be 15–25% slower than a comparable skier on the same skin track. However, the descent experience as a snowboarder is the payoff that makes the uphill effort worthwhile for most splitboarders.

Do I really need avalanche safety gear and training for splitboarding?

Absolutely, without exception. If you're traveling in backcountry terrain where avalanches are possible, you must carry a beacon, probe, and shovel—and know how to use them. Take an AIARE 1 or equivalent avalanche course before your first backcountry tour. Avalanche accidents are the leading cause of fatalities in backcountry snowsports, and they can happen on surprisingly mild slopes. No powder line is worth risking your life. Budget for avalanche gear and training as a non-optional part of your splitboarding investment.

How do I choose the right size splitboard?

Size your splitboard based primarily on your weight, following the manufacturer's recommended weight range for each length. Most splitboarders size up 2–4 cm from their resort board for extra float in untracked powder. Consider going wider at the waist if you ride areas with consistently deep snow. If you're between sizes, go longer for more float and stability or shorter for tighter tree runs and easier kick turns on the skin track. Always verify you're within the weight range—this matters more than height.